Auto start Programs as Administrator
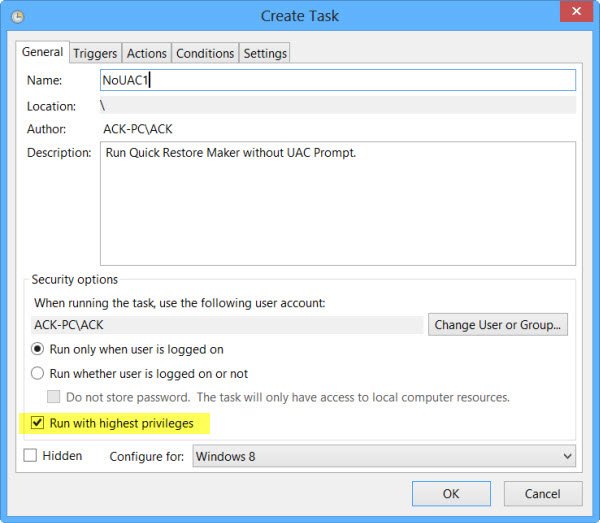
Creating a Program Shortcut, opening its Properties, opening the Compatibility tab, checking Run this program as an administrator and placing this shortcut in the Windows Startup folder does not work. What you will have to do, is make use of the Windows Task Scheduler to create an elevated Shortcut to run Programs bypassing the UAC Prompt. So let us see how to make programs always run or auto start as administrator, with elevated privileges. To begin with this, type Schedule Tasks in Start Search and hit Enter to open the Task Scheduler. Under the General tab, give the Task a name, say NoUAC1, complete the other fields as required and make sure that you check the Run with highest privileges box. Configure the setting under the Triggers, Action, Conditions & Settings tab according to your preferences. Under Trigger, you can set it to run when the computer starts every time. You can full details about this at our post on how to create elevated Shortcut to run Program bypassing UAC Prompt. Once you have set up this task successfully, you will find that the program will start automatically with administrative privileges, every time your Windows PC boots. You can also use freeware like UAC Trust Shortcut and Elevated Shortcuts to make things easier for you. If you create shortcuts using these tools, you need to simply place the shortcuts in the Startup folder. More about these tools, at the end of this post. TIP: To launch a program or app elevated, Hold CTRL+SHIFT and then click on the app icon. The program will launch as administrator. I hope you can get this working for you. Additional inputs are, as usual, most welcome! This post will help you if Run as administrator is not working.

